Want to know how to use Bluestack?
Bluestack is an Android emulator that is arguably very well known.
And this Bluestack also includes an emulator that was initially available to the public. What I remember back then was when Android was still in its early versions 😀

Until now Bluestack is still being developed. Starting from the interface to performance.
This emulator is now one of the choices for PC or laptop users when they want to run Android on their system.
So, for those who are curious, about how to use Bluestack, here I want to explain it.
Table of Contents
How to Use Bluestack on PC or Laptop
For those of you who want to use this emulator, I recommend checking the specifications needed by Bluestack first.
| System | Windows 7 or above |
| Processor | Intel or AMD |
| RAM | Minimum 2GB |
| Hard drive | 5GB Free |
For laptops and PCs today, you can generally run Bluestack without problems. But if your laptop or computer doesn’t meet the criteria, maybe you should upgrade first 😀, So you can read how to increase VRAM?
Or later try to use the settings that I will explain.
Let’s continue, the steps for using Bluestack …
1. Download and Install Bluestack First
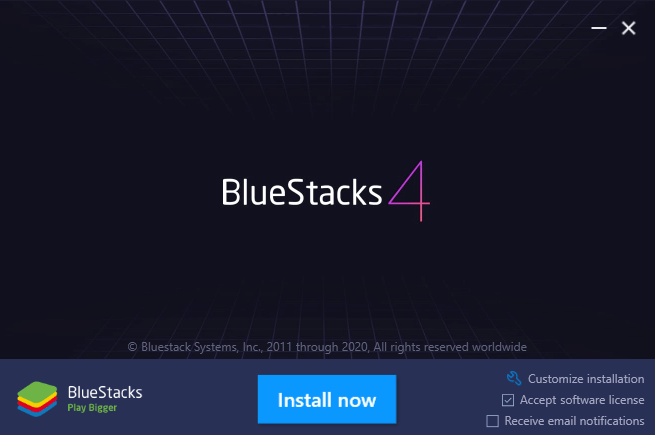
The first, of course, is to download and install Bluestack first. This is really easy. First please visit the official Bluestack website.
Then click the Download Bluestack button. This will give you the latest version of Bluestack.
Please run the installer. Here, make sure the internet runs smoothly because Bluestack will download the files needed.
The size? It depends on the Bluestack version. For example, I said 2GB, not necessarily 2GB in the future, right?
The important thing is to make sure that the hard disk storage capacity is sufficient (it is stated in the installer).
2. Open the Application

The installation process will run as usual. If so, please open the application.
Either through the Start Menu or Desktop. It could also be from the / directory where you put the previous Bluestack folder.
After that Bluestack will automatically load early. It’s just a matter of waiting until the initial display appears.
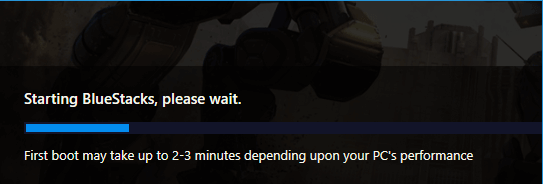
After that, we can go to the next step.
3. Log in to Your Bluestack Account
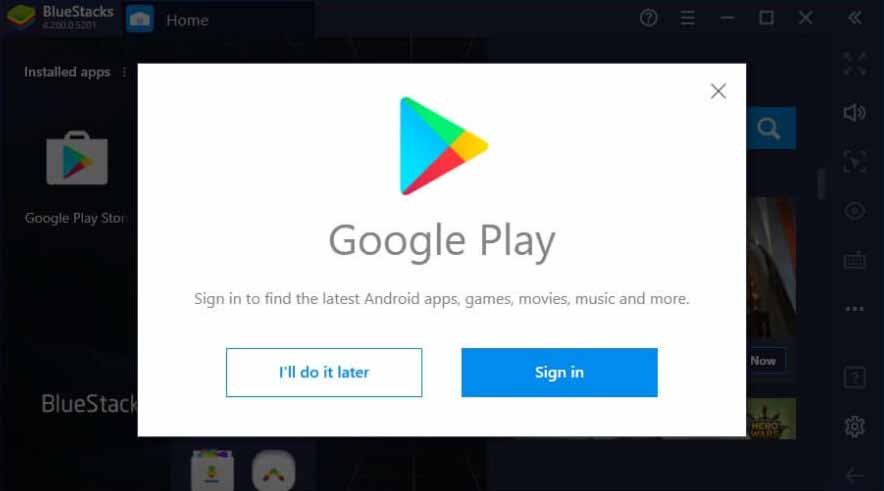
For Bluestack itself, we have to use an account first, so that the settings and applications that we install can be stored in the Bluestack configuration.
The method is really easy:
- After the initial loading is complete, the Google Play screen will appear
- Click Sign-in
- Then enter as usual
- If so, then you will be directed to the main Playstore page
Done. Now Bluestack is 100% ready to use.
4. Install Applications on Bluestack
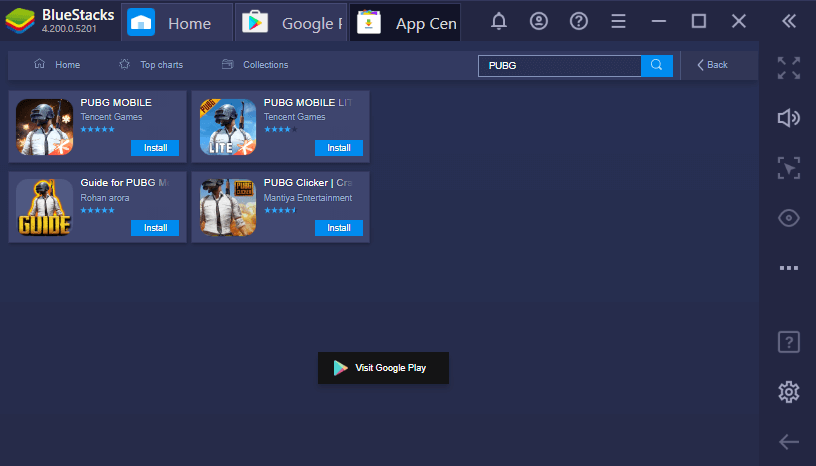
There are two ways to install applications on Bluestack. Namely:
- Through Google Playstore
- Through search Apps
Which one is free? If you can install Playstore as usual. If the search for Apps is located on the Home tab then in the discover Apps column.
How to use:
- Type the name of the desired application in the discover Apps field
- Click the Search button
- If so, install it
Just wait for the process to complete. It’s easy?
5. Opening Apps Stored on Bluestack
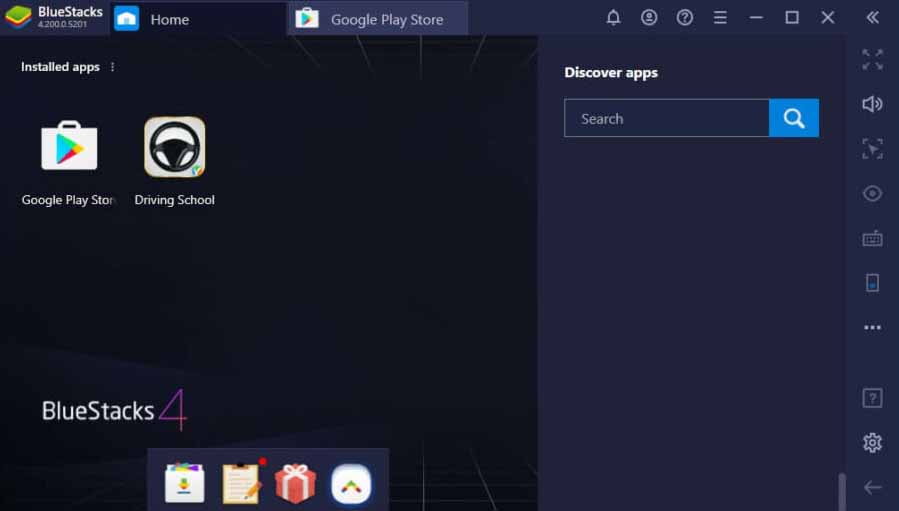
How to open a stored application is really easy. After completing the application installation process, click the Home tab at the top.
There, we can see all installed applications and can open them from there too.
The rest are like ordinary people. Just use the application hehe.
6. How to set Bluestack so it’s not light and slow
Well, in addition to this.
Actually, whether Bluestack is slow or not depends on the specifications of the PC or Laptop used, as well as the applications or games that are running on Bluestack.
The heavier it is, of course, the more you need a good performance.
But there are settings that can be done, to improve Bluestack performance.
Follow these steps:
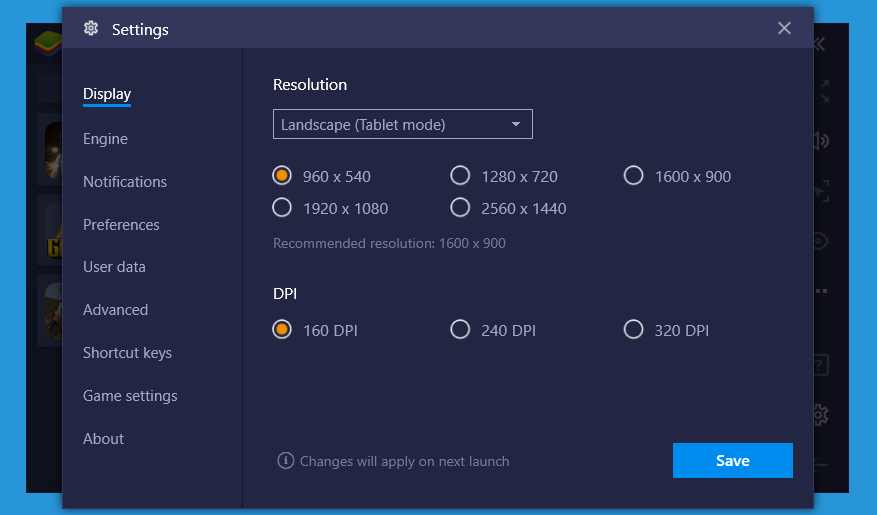
- Click the top dot button > Then click Settings
- In the Display column, set it to 960 × 540 and the DPI to 160 DPI
- In the Engine column settings to Performance, OpenGL, and Dedicated Graphics Renderer
- Still in the Engine column > Scroll down > Performance Settings to 4 CPUs and 60 FPS
- If so, please close the settings
Done. Now Bluestack should be getting lighter.
Troubleshooting that Often Occurs on Bluestack
In using Bluestack, it turns out that there are certain errors that sometimes appear.
Here I will explain at once the solution:
1. How to Overcome Could not Start the Engine on Bluestack
This message generally appears when we want to run Bluestack. There are many reasons for this.
Usually, it’s because the system is a bit problematic. The solution is threefold:
- First, please set the Engine mode to DirectX
- Then activate the Virtualization Processor
- If you can’t, try reinstalling it
With these three ways, it can usually be normal again 😀
2. Long Loading (Or Not Completed)
For this long loading time, there is a possibility that the Bluestack installation is problematic.
Or there is some kind of bug when you use it, and it only appears when you just open the application again.
For how to fix this, you can try End Task Bluestack in the Task Manager. Then try opening it again. I used to use this method.
3. No Image Appears
No picture appears, or in English the term is blank.
The reason is usually VGA. For this I have three suggestions:
- Try updating the VGA driver to the latest version
- Try checking the Bluestack version, make sure the version is up to date
Then you can also try reinstalling it.
4. Message Latest Version Already Installed
This message appears when you want to install Bluestack.
The purpose of this message is, there is already a new version of Bluestack. So you don’t need to install it again.
If you want to handle it, it’s easy. Try going to Control Panel > Uninstall a Program. First Uninstall it then install it again.
The Final Word
That’s a little discussion about how to use Bluestack. The conclusion is still very easy.
But for those who are still confused, try asking via the comments column below. Or if there is another error, try asking too.
Hopefully, this is useful.


